Uploading data
Kartorium can help visualize different kinds of data. In an effort to be data-agnostic, we currently support the following data types and exchange formats:
- Point Clouds
- .e57;
- .las/.laz
- Virtual Tours
- .e57 from Matterport, Leica, and NavVis (more coming soon)
- Raster Layers / Orthoimagery
- .tif/.tiff
- GIS/Vector Data
- .geojson
- Mesh
- .glb
Workflow for Uploading and Visualizing Data
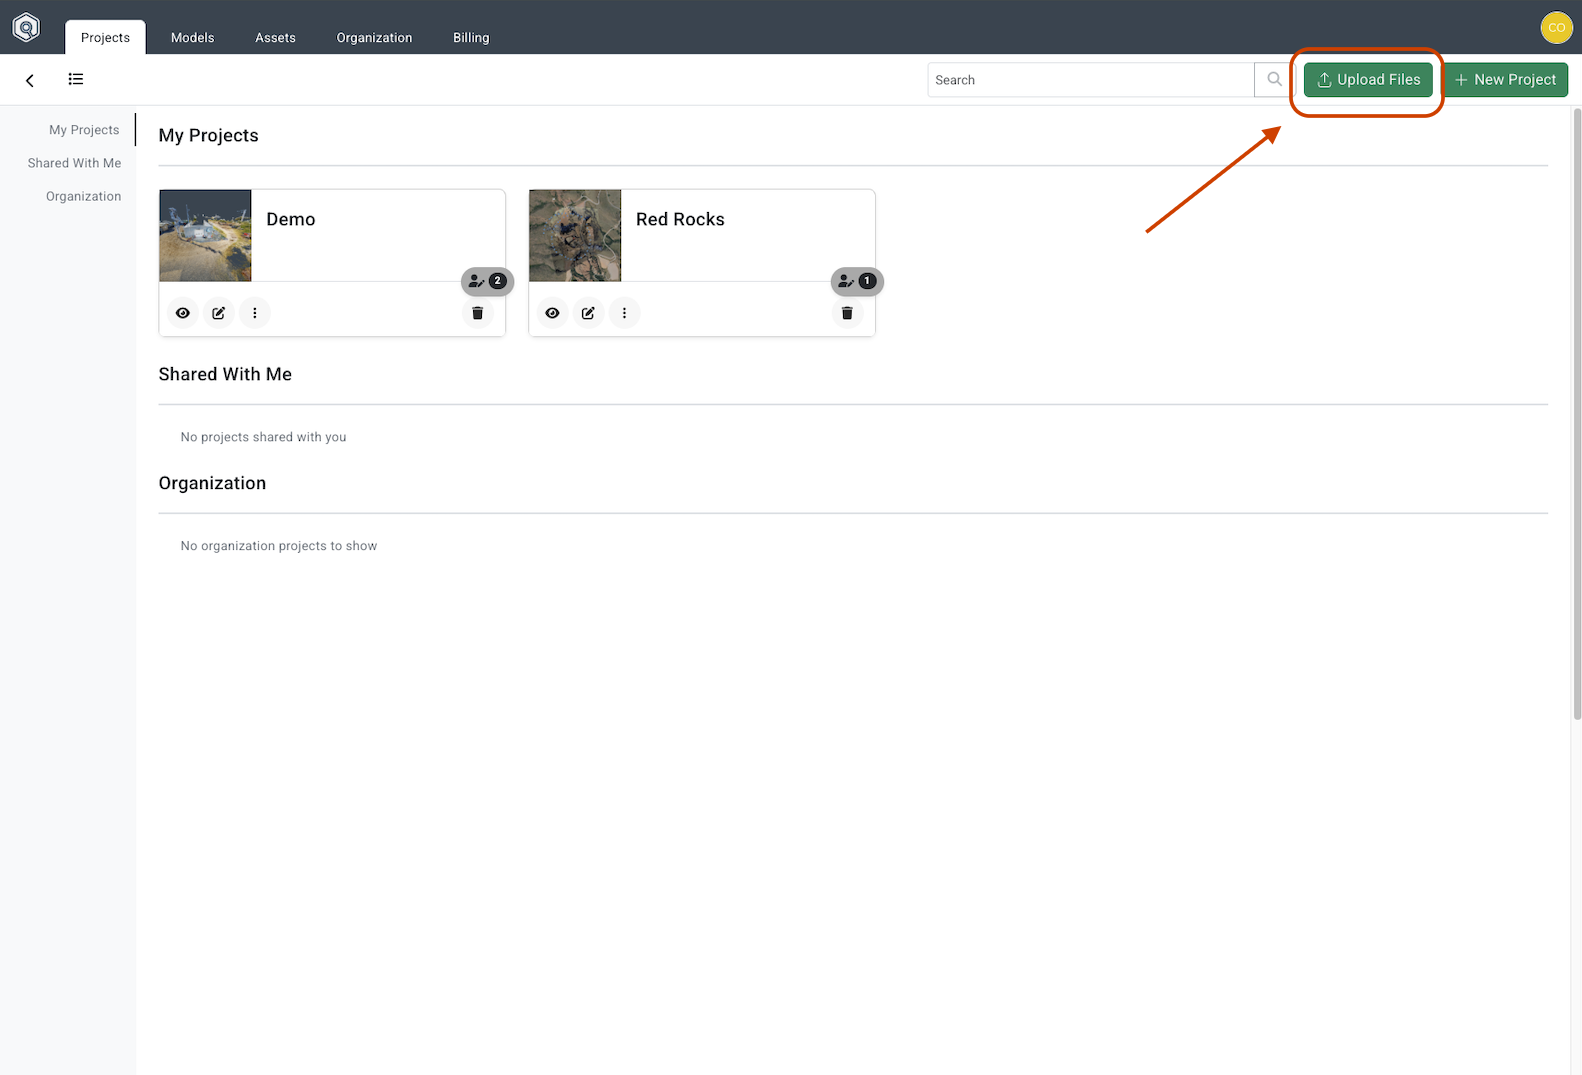
Step 1: Upload Files
- In the Dashboard, click on the + Upload Files button.
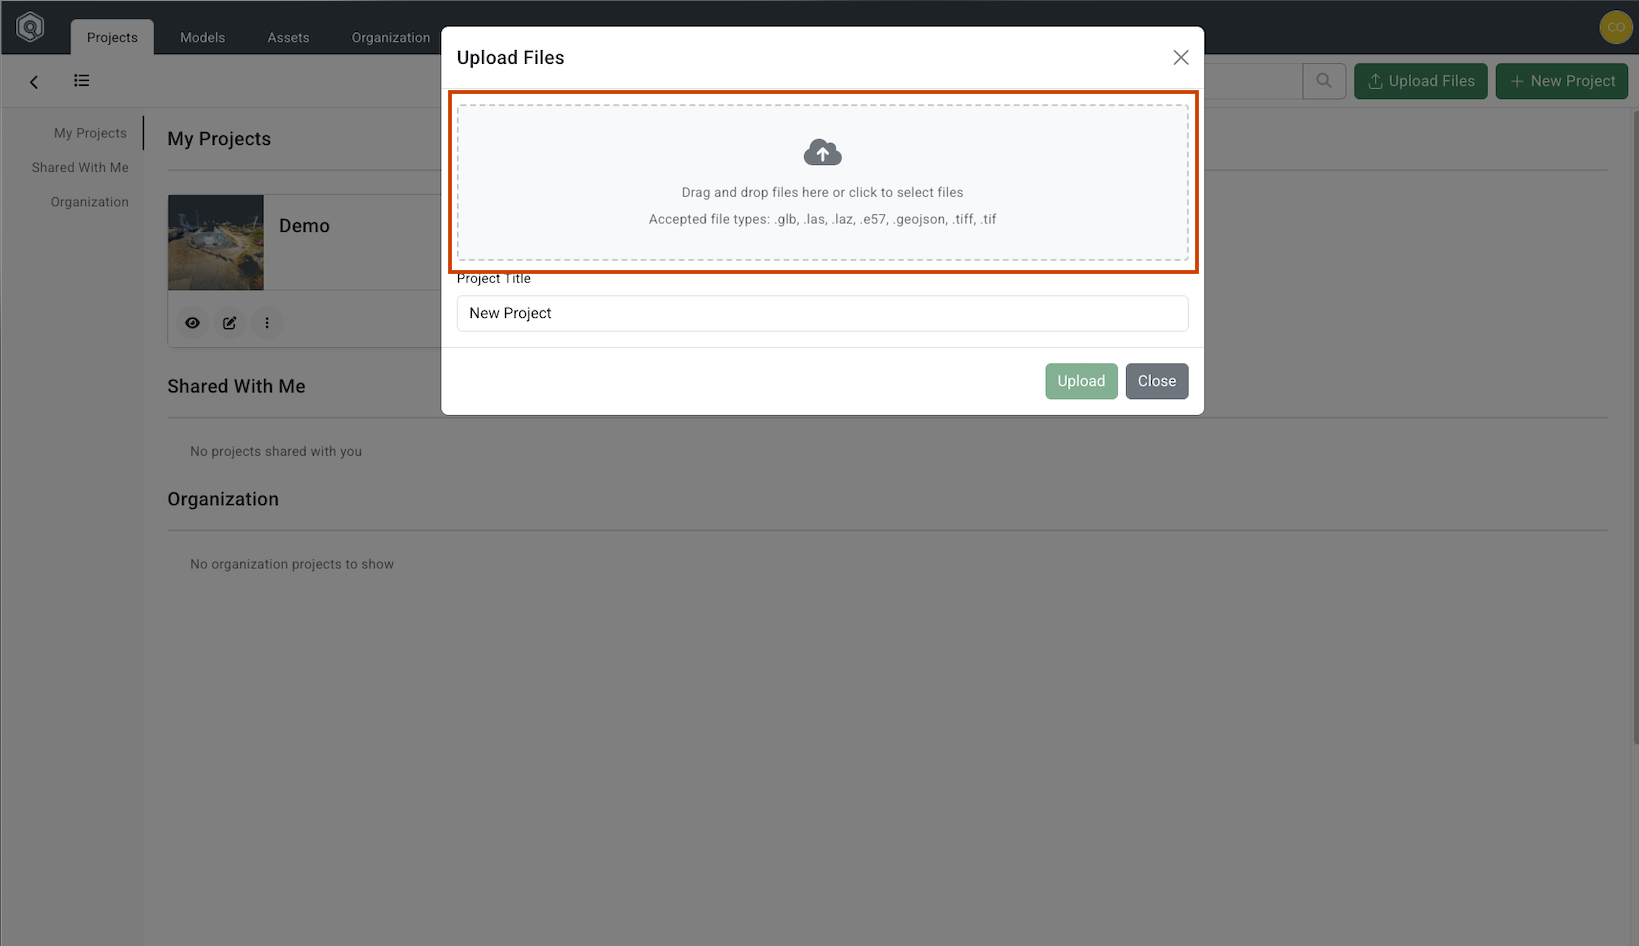
- Drag your files into the picker, or click to select your files.
Step 2: File Processing
- If your file is a point cloud, virtual tour, or ortho imagery, cloud processing will start after upload to convert your files into a browser-friendly format.
- You will receive an email notification once the processing is complete.
- Note: Larger files may take more time to process.
Accessing your files within a project
These newly processed files will be located in a project created for you.
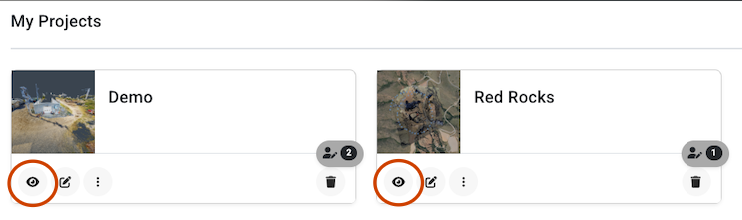
- In the dashboard, click on the Viewer button on the appropriate project card.
- This will take you to a read-only viewer where you can see visualizations of all the files you uploaded.
- To configure your project for additional information or interactions, see the tutorial video below.