Visualizing Point Clouds with Kartorium’s Model Manager
Kartorium’s Model Manager allows you to manage various 3D assets, including point clouds and meshes. Follow the steps below to incorporate point clouds into projects that you can share.
Workflow for Adding Point Clouds to Kartorium
Step 1: Upload a Point Cloud in the Model Manager
- Open the Models tab in the Dashboard.
- Click on the + New Model button.
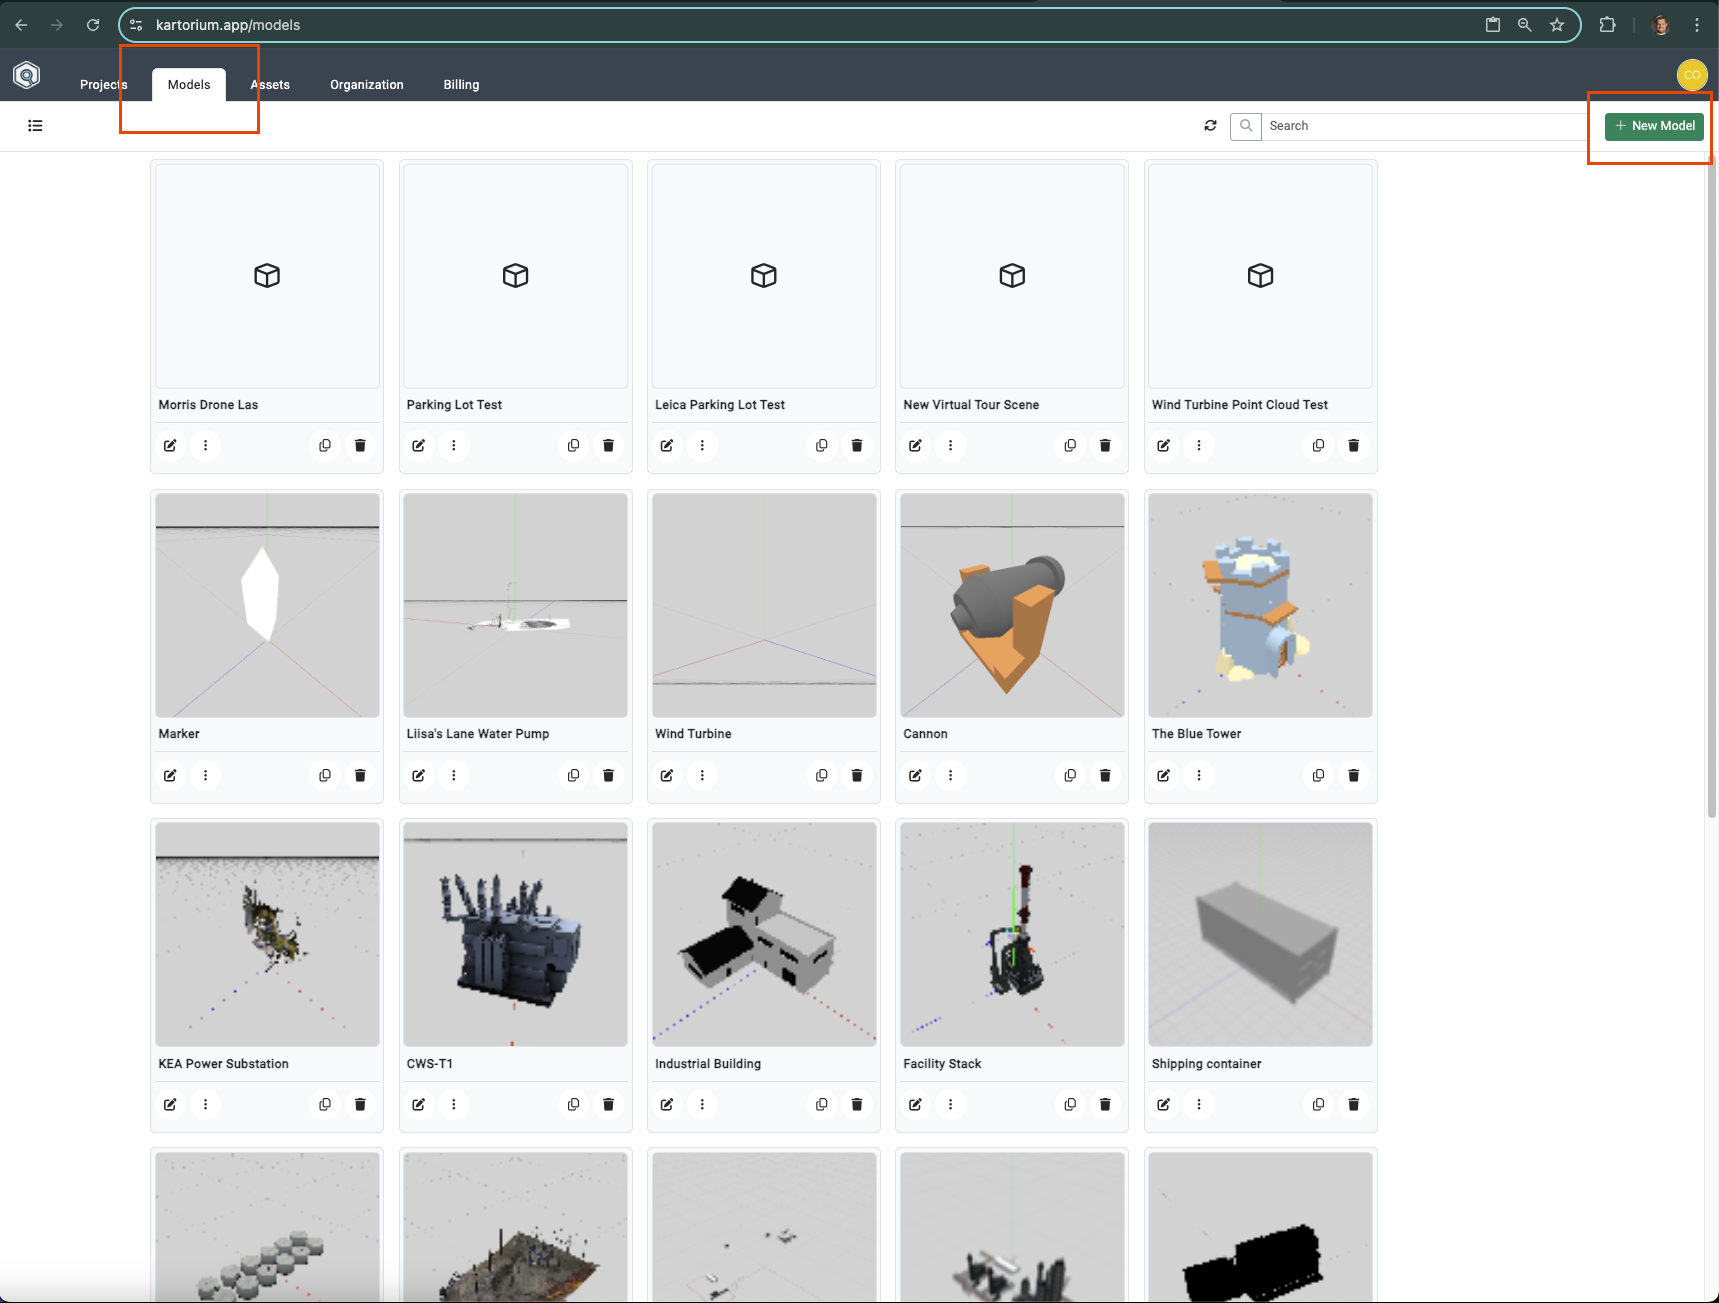
- Provide the following details:
- Title: Enter a title for the model.
- Description: Add a description.
- File Upload: Select the file to upload.
Supported File Types
- Mesh Type:
.glb - Point Cloud Types:
.e57,.las,.laz
Step 2: File Processing
- The uploaded file will undergo a cloud process to ensure web compatibility.
- You will receive an email notification when processing is complete.
Step 3: Viewing Point Clouds
- You can view uploaded point clouds at any time in the Models tab.
Adding Point Clouds to a Project
Step 1: Create a New Scene
- Open your project and create a New Standard Scene, or create a Map Scene when a georeferenced point cloud should align with a basemap.
- In the left panel, go to the Features tab.
Step 2: Add a 3D Feature
- Click on the + New Feature button at the bottom of the left panel.
- Select 3D Model from the drop-up menu.
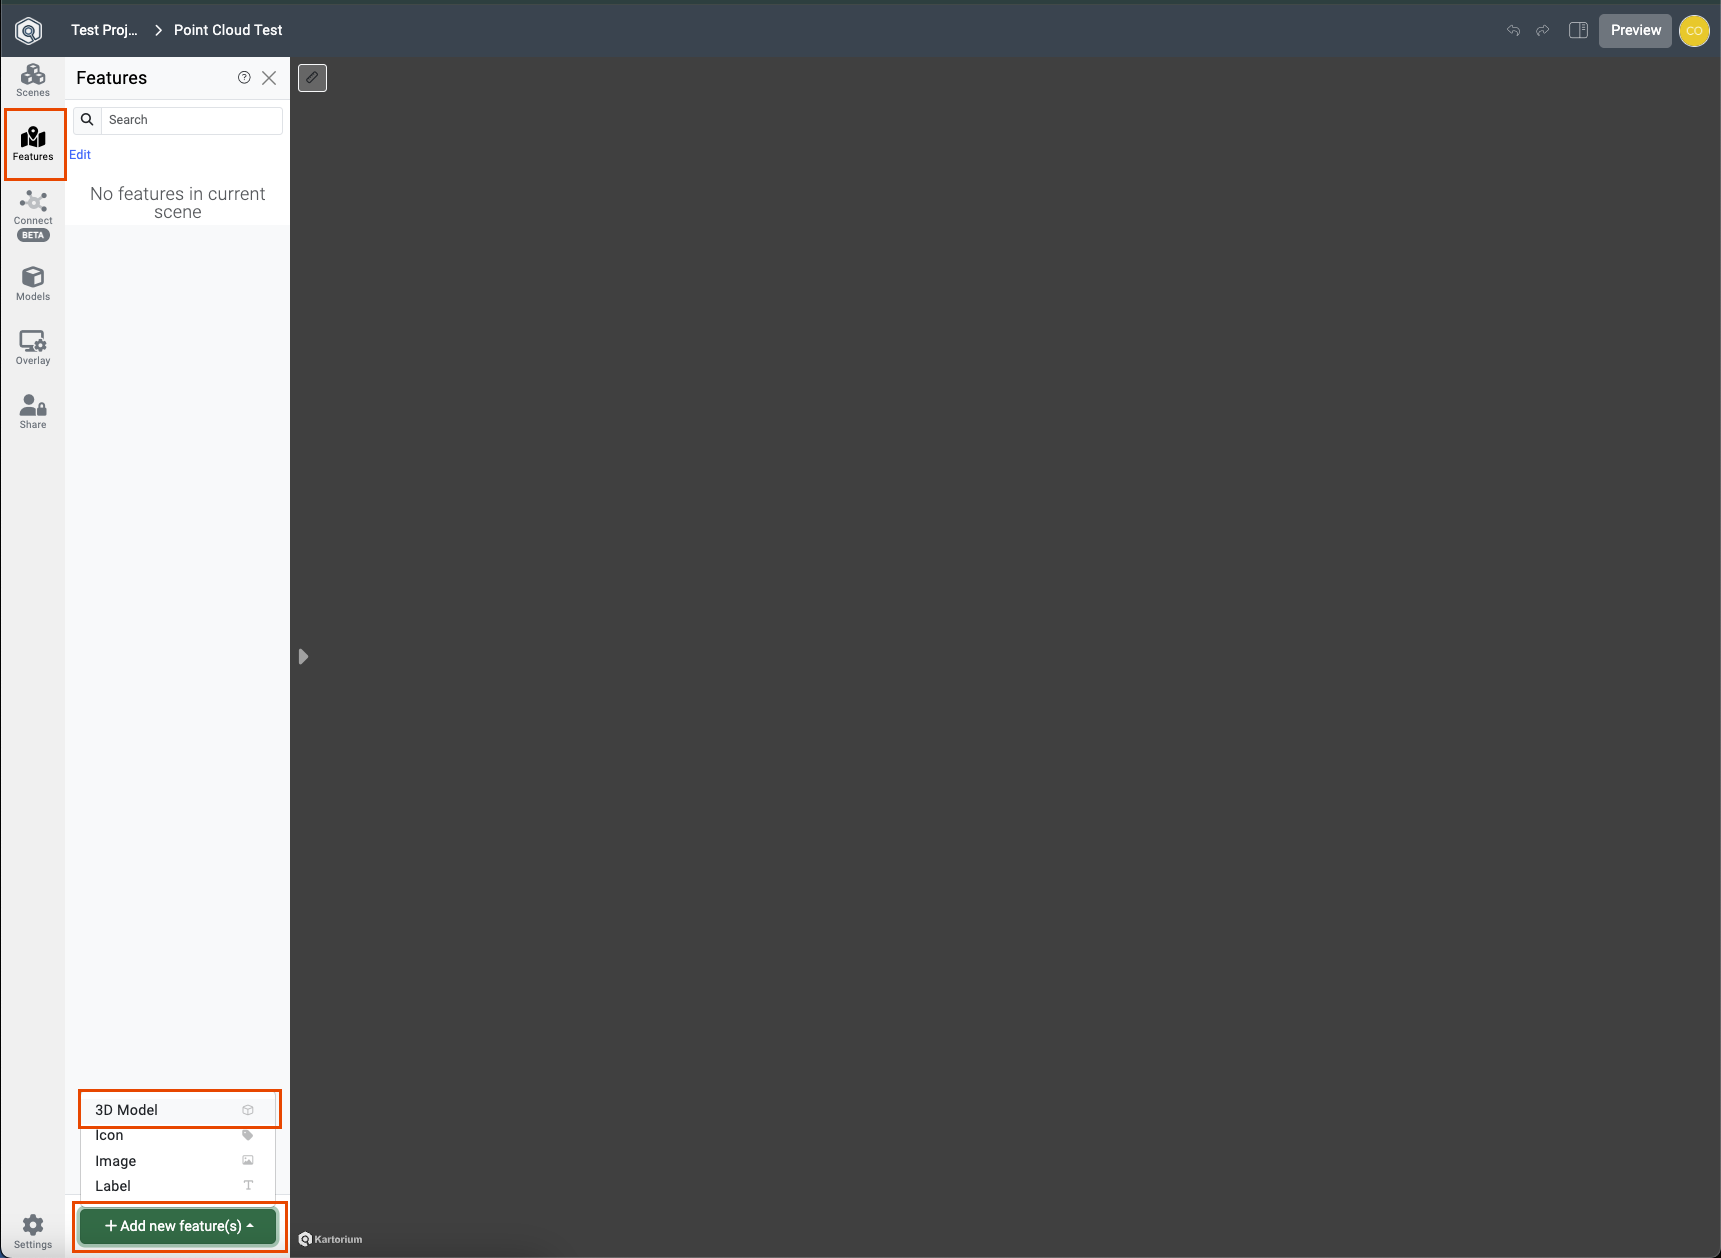
- Choose a model from the list of available point clouds.
- Confirm your feature creation.
Georeferenced Point Clouds in Map Scenes
When processing recognizes a point cloud’s coordinate reference system, Kartorium uses its geospatial metadata to place, orient, and scale it against the Map Scene basemap. Custom placement remains available when you need to override that automatic alignment.